
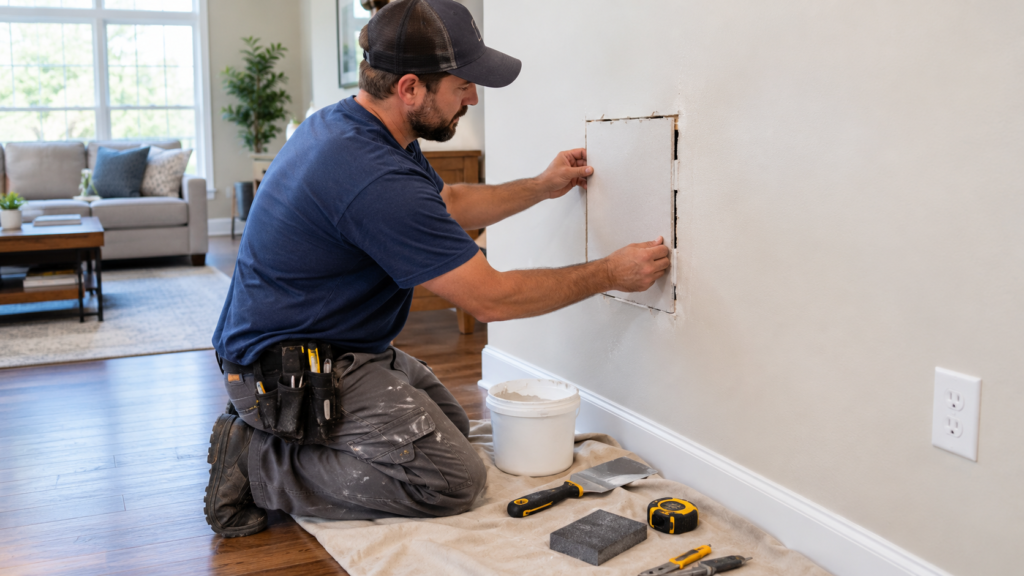
How to Fix a Hole in Drywall Without Replacing the Whole Wall
A hole in drywall does not always mean you need to replace the entire wall. Small and medium-sized holes often respond well to patching, especially when the surrounding drywall remains firm, dry, and structurally sound.
A practical repair can restore the surface without removing an entire drywall panel. The right method depends on the size of the hole, the condition of the surrounding material, and whether the damage has affected the drywall paper or framing behind it.
For homeowners in Alpharetta, knowing how to fix a hole in drywall without replacing the whole wall can save unnecessary work while still producing a smooth, paint-ready surface.
When Can You Repair a Drywall Hole Instead of Replacing the Wall?
You can repair many drywall holes when the surrounding material remains stable and free from serious moisture damage. The size and location of the hole usually determine the most suitable repair method.
Small nail and screw holes require very little material. Larger holes may need a drywall patch, backing support, joint compound, sanding, and repainting.
A full wall replacement usually becomes unnecessary when:
-
The surrounding drywall remains firm.
-
The damage affects only a limited section.
-
The wall has no significant water damage.
-
The drywall paper remains mostly intact around the damaged area.
-
The framing behind the wall remains sound.
-
The hole does not indicate a larger structural problem.
If the drywall feels soft, swollen, crumbles easily, or shows extensive moisture damage, patching may not provide a lasting solution.
What You Need to Repair a Drywall Hole
The tools and materials depend on the size of the hole, but a typical repair may require:
-
Utility knife
-
Drywall saw
-
Measuring tape
-
Pencil
-
Sanding sponge or fine-grit sandpaper
-
Putty knife or drywall knife
-
Joint compound
-
Drywall patch material
-
Drywall tape or mesh tape when appropriate
-
Backing material for larger patches
-
Drywall screws
-
Primer
-
Matching wall paint
Protect the surrounding area before you begin. Cover nearby flooring and furniture, and wear appropriate eye protection when cutting or sanding drywall.
Step-by-Step Guide to Fixing a Drywall Hole
1. Inspect the Hole
Start by examining the damaged area. Check whether the edges are stable and whether the drywall paper has torn around the opening.
Look for signs of moisture, staining, mold, loose material, or movement. If the hole came from an impact, determine whether the surrounding wall also has cracks or dents.
The inspection helps you decide whether you can fill the hole directly or need to cut out a damaged section and install a patch.
2. Choose the Right Repair Method
The repair method should match the size and condition of the hole.
|
Hole Type |
Suitable Repair Method |
Typical Materials |
|
Small nail or screw hole |
Fill and smooth |
Patching compound or joint compound |
|
Small anchor hole |
Fill and refinish |
Joint compound or patching compound |
|
Small surface opening |
Patch and compound |
Drywall patch or mesh |
|
Medium hole |
Install a patch with support |
Drywall piece, backing, screws, joint compound |
|
Larger localized hole |
Cut out damaged section and patch |
Matching drywall, backing, screws, tape, compound |
|
Extensive or deteriorated damage |
Consider partial or full replacement |
New drywall and finishing materials |
You do not need to replace the whole wall simply because one section has significant damage. A localized patch can often restore the affected area.
3. Clean and Prepare the Edges
Remove loose drywall pieces around the hole. Use a utility knife to create clean, stable edges where necessary.
Do not remove sound drywall unnecessarily. The goal is to create a repair area that accepts the patch securely while limiting the amount of material you need to replace.
If the surrounding paper has torn, trim loose pieces carefully. Avoid pulling firmly attached paper away from the wall because doing so can enlarge the damaged area.
4. Fill Small Holes Directly
You can usually fill very small holes with suitable patching compound or joint compound.
Apply the compound with a putty knife and press it into the opening. Scrape away excess material and feather the edges so the repair blends into the surrounding surface.
Allow the compound to dry according to the manufacturer’s instructions. Apply another thin coat if the material shrinks or leaves a depression after drying.
Once completely dry, lightly sand the area until it feels smooth.
For more guidance on handling small drywall holes, see our detailed guide to repairing drywall holes in Alpharetta.
5. Prepare a Patch for a Larger Hole
Larger holes need more support than a simple layer of compound can provide.
Measure the damaged section and cut a suitable piece of drywall for the repair. Keep the patch as close as possible to the thickness of the existing wall.
For a localized hole, you may need to cut the surrounding drywall into a clean shape that makes it easier to fit the patch. Avoid cutting into electrical wires, plumbing, or other hidden services.
If the opening does not provide enough support for the patch, install appropriate backing behind the drywall. Secure the backing and then fasten the patch according to standard drywall repair practices.
6. Secure the Drywall Patch
Place the patch into the opening and check that it sits level with the surrounding wall.
Use suitable drywall screws to secure the patch to the backing or framing. Do not drive the screws too deeply because this can damage the drywall paper and create additional finishing problems.
The patch should remain stable without movement before you begin applying joint compound.
7. Apply Joint Tape and Compound
Depending on the repair system and patch design, apply suitable drywall tape around the joints.
Spread a thin layer of joint compound over the seams using a drywall knife. Extend the compound beyond the immediate joint so you can feather the repair into the existing wall.
Avoid trying to create the finished surface with one thick layer. Several thin coats generally provide better control and a smoother transition.
Allow each coat to dry completely before applying the next one.
8. Feather and Sand the Repair
Apply additional compound as needed and gradually widen the repaired area. Feather the edges so they disappear into the surrounding drywall.
After the compound dries, lightly sand the surface with a fine-grit sanding sponge or suitable sandpaper.
Run your hand gently across the repair to check for ridges or low spots. Use good lighting to inspect the surface from different angles.
If you still see an uneven area, apply another thin coat rather than sanding aggressively.
9. Match the Existing Wall Texture
A smooth patch can remain visible if the surrounding wall has a textured finish.
Before painting, reproduce the existing texture as closely as possible. The appropriate technique depends on the type of texture already present on the wall.
Texture matching often requires more skill than the basic patch itself. Differences in pattern, thickness, or application can make an otherwise well-repaired area stand out.
10. Prime and Paint
Apply primer to the repaired area once the compound has dried and the surface is smooth.
Primer helps create a more consistent surface for the final paint. After the primer dries, apply matching paint.
For small repairs, blending the paint into the surrounding area may be enough. Larger repairs may require painting a broader section or the entire wall to achieve a consistent appearance.
How Large of a Drywall Hole Can You Repair?
There is no single maximum hole size that applies to every wall. The surrounding drywall, access to framing, location of the damage, and availability of matching material all affect the repair approach.
|
Hole Size or Condition |
Can You Usually Patch It? |
Typical Approach |
|
Small nail or screw hole |
Yes |
Fill with suitable compound |
|
Small anchor hole |
Yes |
Fill and smooth |
|
Several small holes |
Yes |
Fill individually or repair a small section |
|
Medium localized hole |
Usually |
Install a drywall patch with proper support |
|
Large localized opening |
Often |
Cut out the damaged section and install new drywall |
|
Extensive wall damage |
Depends |
Partial or full panel replacement may be more practical |
|
Water-damaged or deteriorated drywall |
Not always |
Remove damaged material and address moisture source |
The important distinction is between localized damage and widespread deterioration. A large but isolated hole may still require only a localized patch, while several smaller areas of severely damaged drywall may justify replacing a larger section.
Why Patching Can Be Better Than Replacing the Whole Wall
Replacing an entire wall can create unnecessary work when the damage affects only one section.
A properly executed patch can:
-
Preserve the undamaged drywall.
-
Reduce demolition.
-
Limit the amount of new material required.
-
Reduce dust and cleanup.
-
Make the repair faster for localized damage.
-
Allow you to maintain most of the existing wall.
However, the goal should not simply be to avoid replacement. If the existing drywall has widespread moisture damage, serious deterioration, or repeated structural movement, a larger repair may provide a better long-term result.
Drywall Hole Repair Guide: What Works Best by Hole Size
The right fix depends mostly on how big the hole is and what condition the surrounding drywall is in. A nail hole needs a dab of compound, while a fist-sized hole needs backing support, tape, and several thin coats. The table below breaks down the most suitable repair for each hole size, with typical materials, drying times, and practical tips from hands-on drywall work by the JustFixToday team. It also shows when a DIY patch makes sense and when it’s smarter to call a professional.
Hole size ranges are general guidelines, not fixed rules. Wall condition, texture, and access to the framing can change the best approach.
| Hole Size | Recommended Repair | Key Materials | Typical Drying Time Between Coats* | Pro Tip From the Field | DIY or Call a Pro? |
| Nail/screw hole (under ½”) | Fill and sand | Lightweight spackle or joint compound | 1–2 hours (spackle); up to 24 hours (premixed compound) | Press compound in with a putty knife, then drag the blade at a flat angle so little sanding is needed | DIY |
| Small dent or anchor hole (½”–1″) | Two thin coats | Joint compound, fine sanding sponge | Up to 24 hours per coat | Apply a second coat slightly wider than the first to feather the edges | DIY |
| Small hole (1″–4″) | Self-adhesive mesh patch plus compound | Mesh patch, joint compound, 6″ and 10″ knives | Up to 24 hours per coat | Extend the final coat 8–12″ past the patch so it vanishes under paint | DIY with basic skills |
| Medium hole (4″–8″) | Cut-out patch with backing | Matching-thickness drywall, backing strips, screws, tape, compound | 24 hours per coat; setting-type compound sets in 20–90 minutes | Cut the opening square, because straight edges are much easier to tape and finish | DIY with experience |
| Large hole (8″+) or multiple holes | Cut back to the studs and install a new section | Drywall to match, framing support, screws, tape, compound | 24 hours per coat | Locate studs and check for wiring and plumbing before cutting | Consider a pro |
| Soft, swollen, or moldy drywall | Remove the damaged material and fix the moisture source | Replacement drywall, moisture-resistant products where appropriate | Varies | Patching over moisture damage fails because the cause is still there | Call a pro |
*Drying times vary with product, coat thickness, temperature, and humidity. Always follow the manufacturer’s label.
Source:
- Drying and recoat times: Based on manufacturer guidance for joint compounds and spackling products, including USG Sheetrock brand joint compounds and DAP patching products. Always check the label or technical data sheet for the exact product you use.
- Patching and finishing methods: Consistent with the Gypsum Association’s GA-216: Application and Finishing of Gypsum Panel Products and GA-214: Recommended Levels of Finish for Gypsum Board.
- Pro tips and hole size thresholds: Drawn from JustFixToday’s field experience with drywall repairs in Alpharetta homes. The size ranges reflect common repair practice rather than an industry standard.
Georgia’s summer humidity can lengthen drying times, so confirm the compound is fully dry before sanding or applying the next coat.
Common Mistakes When Repairing a Drywall Hole
Even a relatively simple patch can become noticeable when homeowners rush the finishing process.
Avoid these common mistakes:
-
Applying compound over loose drywall paper.
-
Using a patch that does not match the existing drywall thickness.
-
Leaving the patch unsupported.
-
Applying one thick coat instead of several thinner coats.
-
Sanding before the compound has dried completely.
-
Failing to prime the repaired area.
-
Ignoring existing wall texture.
-
Painting with a noticeably different finish or sheen.
-
Covering moisture damage without fixing the source.
Taking extra time during preparation and finishing can make a significant difference in the final appearance.
When Should You Replace More Than the Damaged Section?
A localized patch will not always provide the best solution. Consider a larger repair when the surrounding drywall has extensive deterioration or when the damaged area extends across a significant portion of the panel.
Professional assessment may be worthwhile when:
-
Water has damaged a large section of drywall.
-
The drywall has become soft or swollen.
-
The hole exposes damaged framing.
-
Multiple sections of the wall have deteriorated.
-
The wall contains difficult texture or finish work.
-
Previous patches have repeatedly failed.
-
You suspect movement behind the drywall.
-
Electrical or plumbing components may be affected.
When the repair involves hidden wiring, plumbing, extensive damage, or difficult finishing work, professional assistance may be the safer option.
If the damage involves water damage, address the moisture source before deciding whether to patch or replace the affected drywall.
Why Choose JustFixToday for Drywall Repair in Alpharetta?
A small drywall hole can turn into a frustrating project when the patch remains visible after painting or when the surrounding material needs additional repair. JustFixToday helps homeowners in Alpharetta with drywall repairs and other home improvement needs.
The team can assess the damaged area, determine an appropriate repair approach, and help restore the surface to a smooth, finished condition. Professional assistance can be especially useful when the hole requires backing, drywall replacement, texture matching, or repainting.
If you need drywall repair in Alpharetta, JustFixToday can help you address localized wall damage without automatically replacing the entire wall.
Final Thoughts
You do not have to replace an entire drywall wall every time you find a hole. Small openings often need only suitable patching compound, while medium and larger localized holes can usually receive a properly supported drywall patch.
The key is to inspect the surrounding material first. If the drywall remains firm and dry, a localized repair can restore the damaged area while preserving the rest of the wall. When moisture, widespread deterioration, or structural concerns exist, a more extensive repair may make sense.
Knowing how to fix a hole in drywall without replacing the whole wall helps you choose a repair method that matches the actual damage rather than replacing sound material unnecessarily.
Frequently Asked Questions
1. Can I fix a large hole in drywall without replacing the entire wall?
Yes. You can often cut out the damaged section and install a properly supported drywall patch. You only need to replace a larger section when the surrounding material has significant damage.
2. What should I use to fill a small drywall hole?
Use an appropriate patching compound or joint compound. Apply it in thin layers, allow it to dry, and sand the surface before priming and painting.
3. Do I need to replace drywall after water damage?
Not always. If the drywall remains firm and the damage is limited, you can often repair it without replacing the entire section. Soft, swollen, mold-affected, or extensively deteriorated drywall usually requires removal.
4. How do I make a drywall patch less noticeable?
First, feather the joint compound gradually beyond the patch and sand it smooth. Then, match the existing texture and prime the repaired area before painting. Finally, use a matching paint finish to help the repair blend into the surrounding wall.
5. When should I call a professional for a drywall hole?
Consider professional help when the hole is large, the surrounding drywall has deteriorated, or the repair requires difficult texture matching. Also, seek professional assistance if you find signs of moisture, wiring, plumbing, or movement behind the wall.
Need Drywall Repair in Alpharetta?
If a hole has damaged your wall but you do not want to replace the entire section unnecessarily, JustFixToday can assess the damage and recommend an appropriate repair. In addition, the team can help restore the damaged area while preserving the surrounding drywall.
Call JustFixToday at (678) 549-8083 to discuss your drywall repair needs in Alpharetta and schedule professional service.